
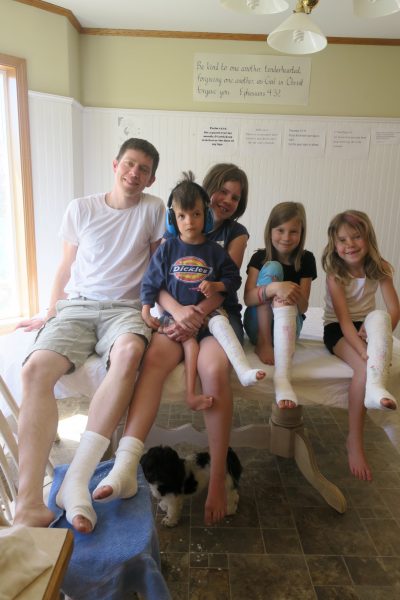
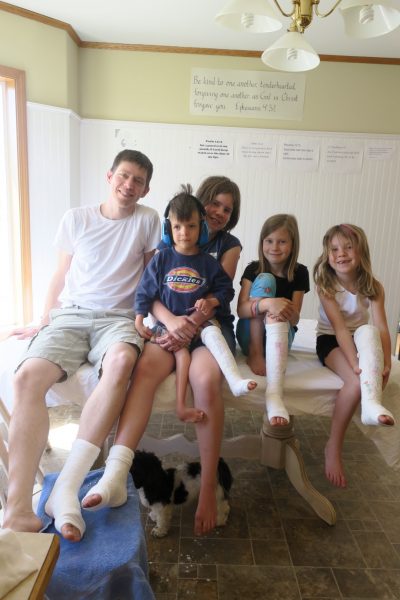
Families that cast together, stay together.
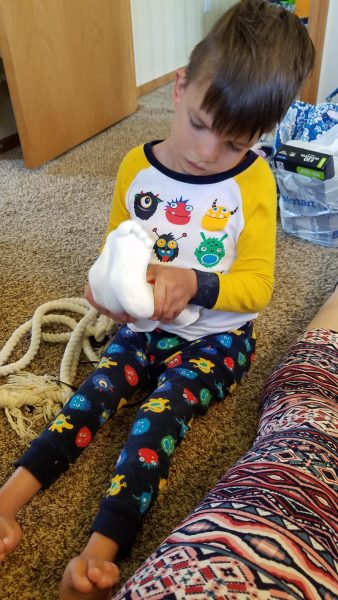
Daniel is scared of doctors and nervous about casts and really scared of plaster saws. So in preparation for his serial casting next week, we purchased the necessary supplies to do some plaster casts at home. I’m blogging “how to do plaster casts at home” so that other families who need a practice round can do it! We did just plaster… skipped the fiberglass layer, because it’s expensive and extra hard.
Step 1:
We watched these videos together multiple times…
Step 2:
I ordered the following on Amazon…
1. Mabis Precision Lister Bandage Scissors Shears, Stainless Steel – $6.50
2. Oscillating Tool, 1.5A Oscillating Multi Tool – $33.99
3. Medline MDT221200 Non-Sterile Tubular Stockinettes, 2″x 25 yd, 1 Roll – $10.05
4. Gypsona S Plaster of Paris Bandages – $22.81
5. Disposable Elastic Gauze Bandages 4 x 4 – $9.99
(That wrap was not the right stuff, but it worked. If I ordered again, I would probably get this or similar for a thicker padding: Cotton Cast Padding)
6. DIY Plaster Statue Molding Kit – $34.75
I already had some exam gloves… both to look like a doctor and keep my hands clean. Optional.
Total cost was about $120, though it would be less without the statue kit and more if I also bought material for a fiberglass shell. Since Daniel needs to have these casts done at the doctor… and he’s scared of doctors… well, it felt like a “deal” in order to give him a boost in confidence for the real doctor casting day.
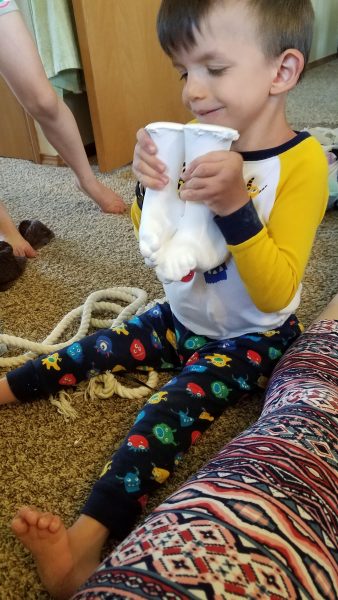
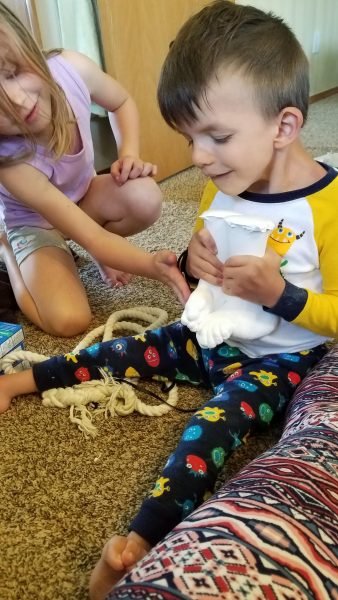
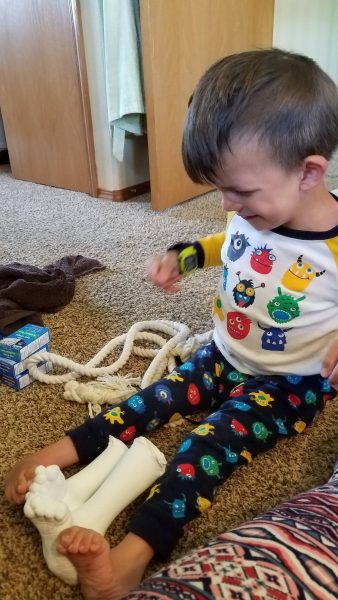
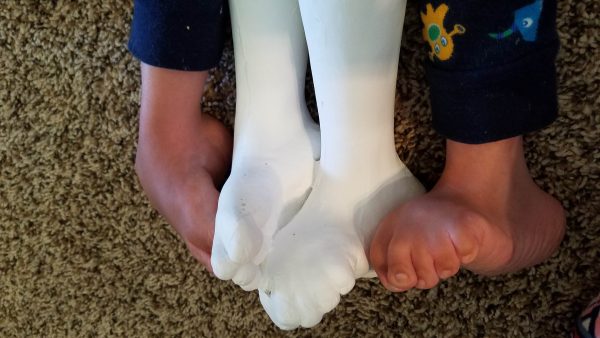
The statue-making kit went well… except that we almost couldn’t get Daniel’s feet out. We had to tear the molding material to get his feet out, which partially damaged the final result, but gave a surprisingly good result, considering. Also, it made a mess. Glad to be done with that.
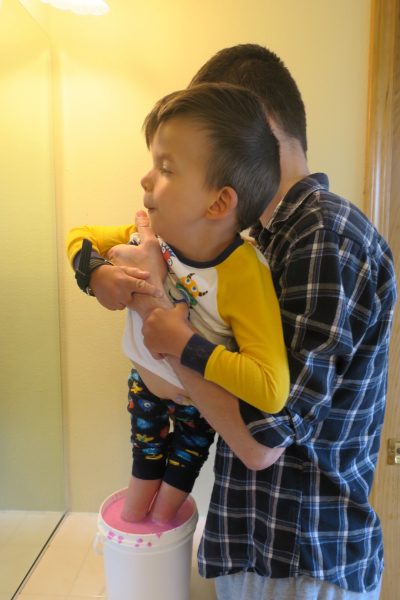
Brian held him an inch off the bottom of the tub full of molding material…. it’s liquid while pink.
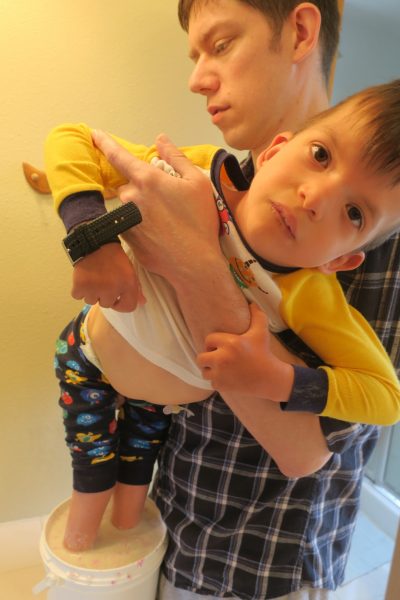
It took 2-3 minutes to set… Daniel wiggled a lot, but the instructions said it would probably be okay. They were both tired of the awkward position by now.
Hello feet!
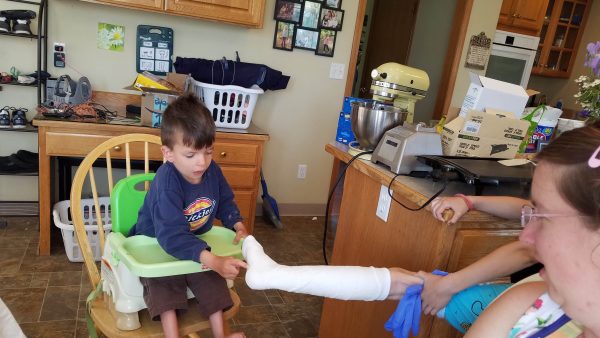
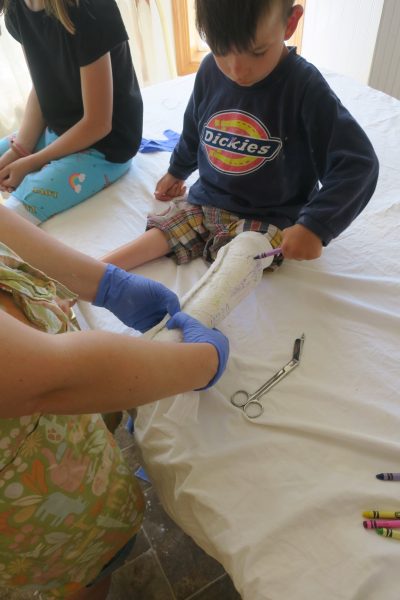
Okay – for the casting process, I just copied what they did in the videos. First, a sock. Then a cotton wrap to make a layer of padding, then plaster bandage (which is dry… dipped in water… squeezed out and then wrapped around the leg.). I held the foot in a position until it was hard enough to let go.
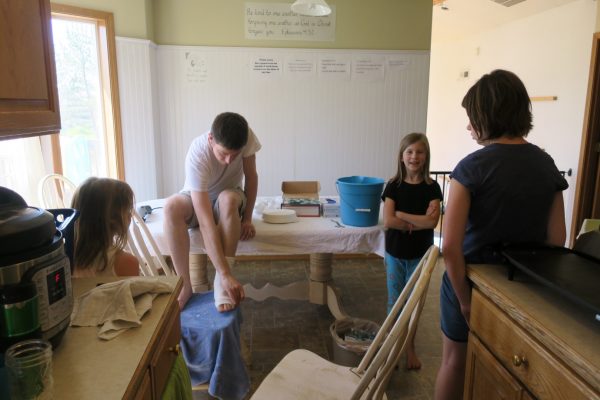
First, I made a “doctor” table and set up everything.
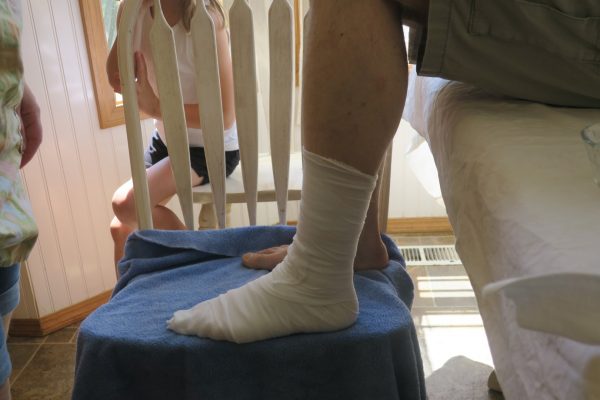
First the stockinette goes on… then the cotton wrap for padding.
Brian was the first volunteer so that if anything went wrong… it went wrong to him. He’s a good dad.
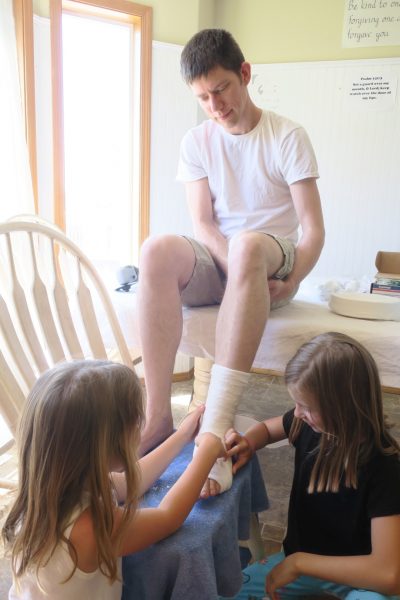
I only used two little rolls of plaster on his big legs, but it got pretty hard!
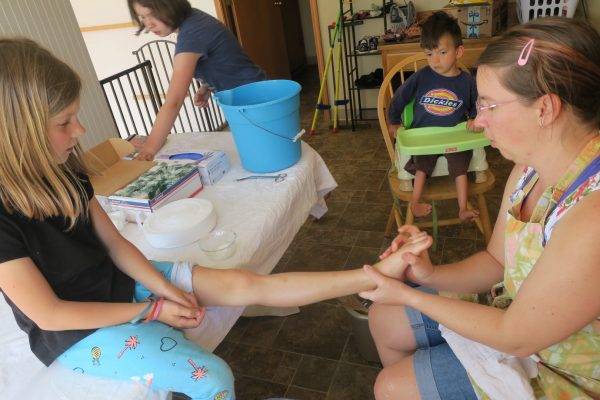
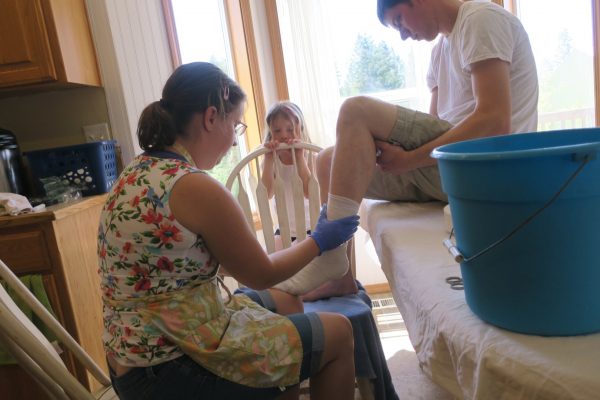
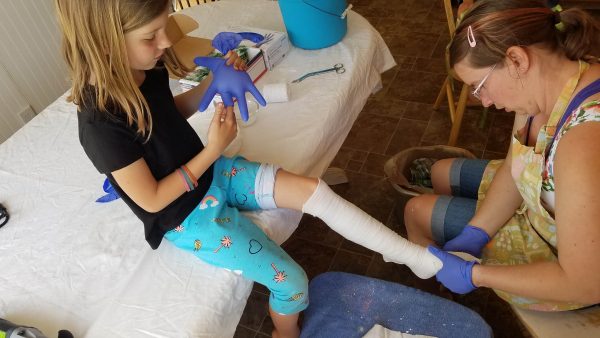
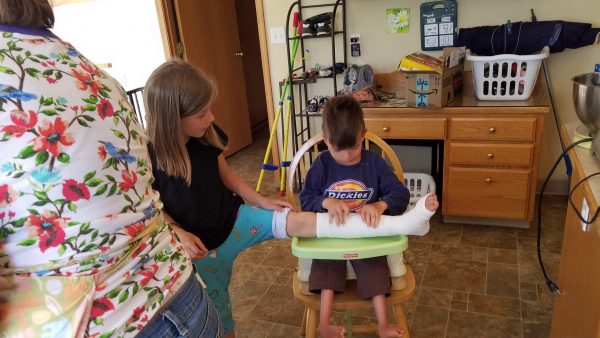
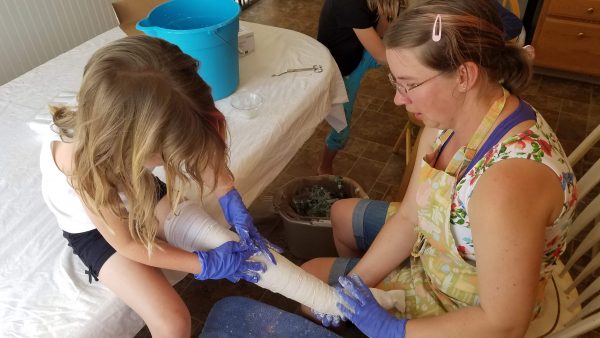
Maggie was the second volunteer! We brought Daniel in to watch. First, we did a massage with coconut oil, just like they do at his new orthopedist’s office.
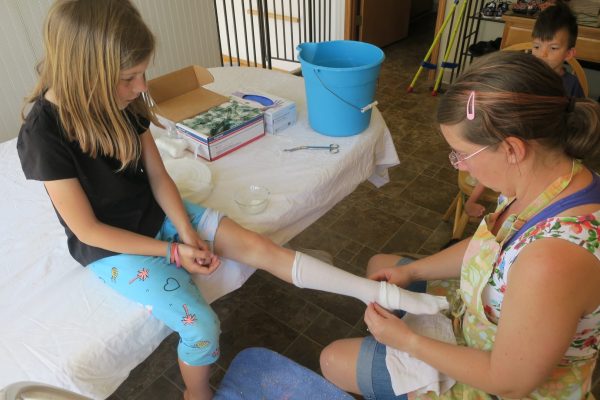
Stockingette on…
Wrapping, wrapping, wrapping. The gauze was thinner than the cotton cast padding bandage I intended to buy, so I wrapped and wrapped and wrapped so that they would be safe from the saw when we cut it off again.
Silly girl.
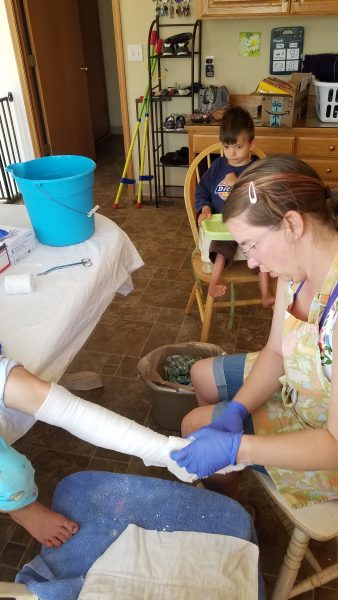
Somebody is very interested in the process.
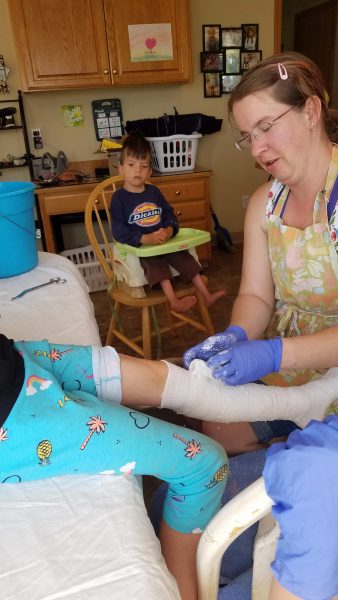
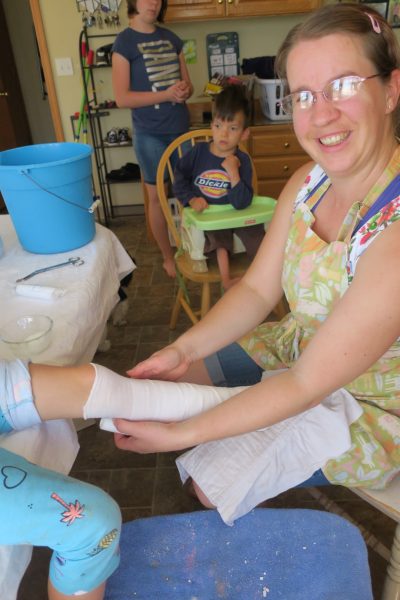
Plaster time!
Unsure….
Curious…
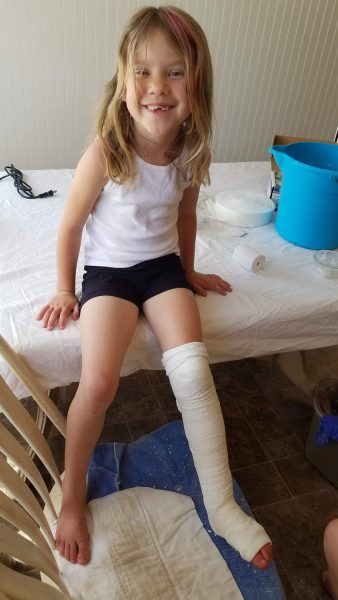
It’s hard!
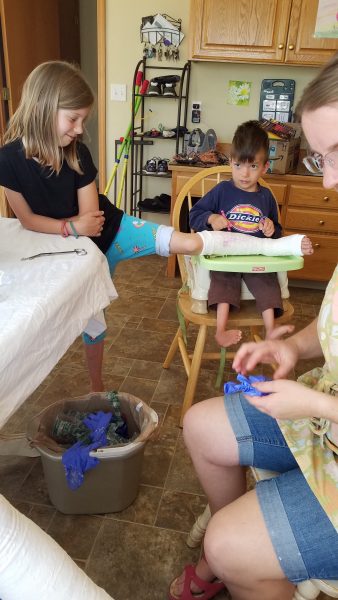
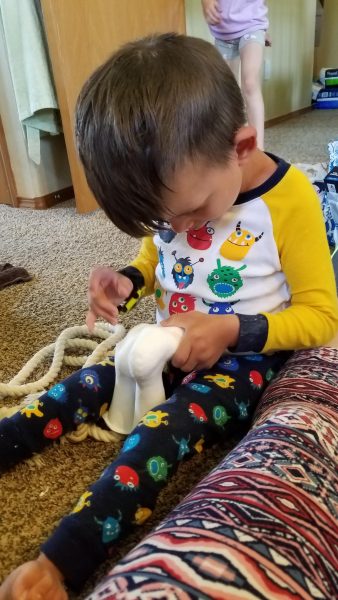
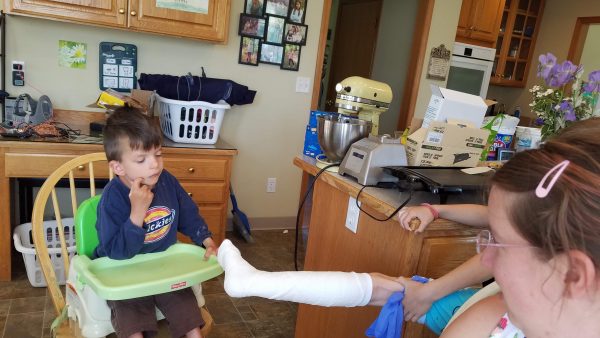
Maggie took her hardened cast to show Daniel. Somebody got him crayons. Fear forgot what he was afraid of.
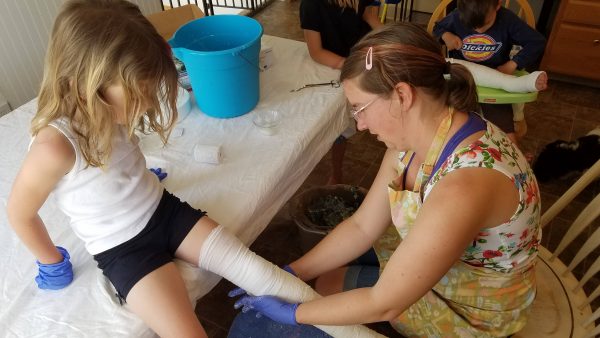
Wrapping, wrapping up Carrie!
Carolyn wanted to help rub the plaster around.
Easily the most photogenic person in our family.
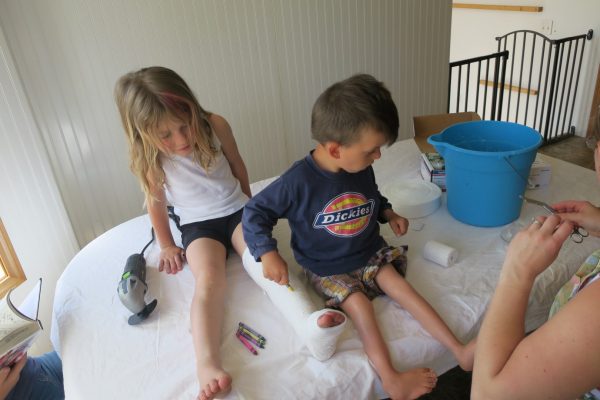
Only Daniel and Anna were left. Daniel enjoyed drawing on the casts with crayons. He was nervous-excited, but willing. I think watching his siblings and dad go first made a big impression.
I think they may harden further with time as they still weren’t rock hard… but I also think that they had soft spots, because I just didn’t wrap the plaster very thick. That was on purpose! Next was the oscillating saw… a saw blade that moves back and forth in a very short arc. Brian very carefully tried it on his arm (both of us flinching about cutting open his arm)… first his arm hairs escaped unscathed. Then the air above his skin… then he touched his skin several times. He managed to give himself a small pink spot that looked a little roughed up. So we decided that it really is difficult to cut yourself with these. And everybody had a nice thick layer of gauze on top of a sock…. so… with trepidation, I began.
Once again, Brian went first. But I don’t have photos. Here I am at the end with the last cast:
After this experience, I would offer this advice: Make the padding thick and the plaster thin. Then you will have a hard time scraping anybody when cutting the cast off. If you had thick plaster and thin padding… I think it would be a lot easier to scratch the skin on accident.
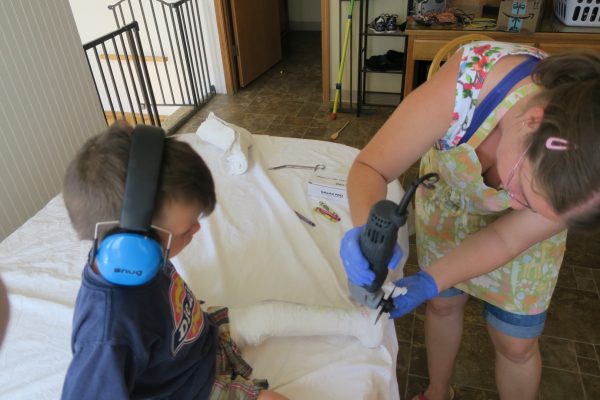
Cutting with the oscillating saw…
After the saw… it didn’t come off easily as it stuck to the gauze a lot.
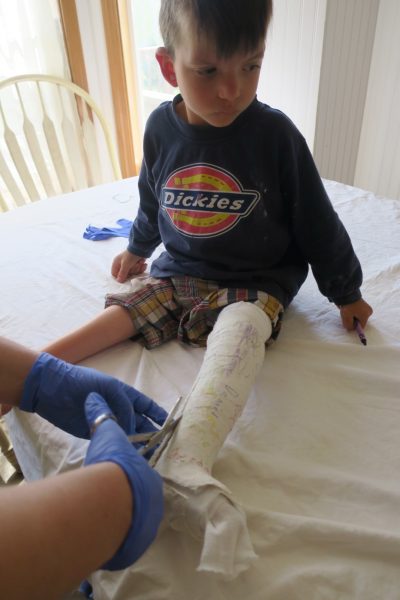
Using my bandage shears and trying not to poke him too much.
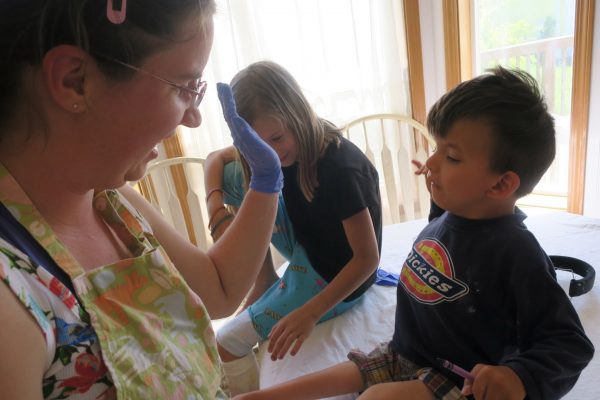
We did it! High five!
Only downside I can see right now is how mad he’s going to be when we don’t take his cast off at the doctor’s office immediately.
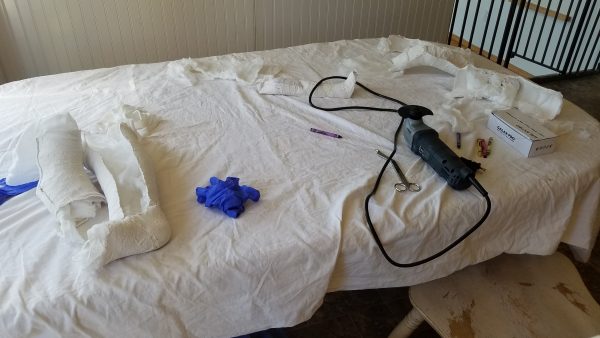
A bizarre scene on our kitchen table.
Memories made. Good ones.
What a project!!! Very brave mommie to do this!!!
You guys are incredible! Love the efforts you go to to make sure your kids feel as safe, comfortable, and loved as possible.