WARNING TO MY NORMAL READERS – YOU PROBABLY DON’T WANT TO READ THIS. There’s a little text and then pictures… you know, with a real placenta. REALLY. Placentas are bloody. Please don’t read this blog if you shouldn’t and stop being my friend. If you must… pretend it’s hamburger, ok?
…
…
…
For many people, the idea of encapsulating a placenta is a ray of hope to decreasing many post-partum pains, discomforts and emotional swings.
Encapsulating your placenta can have the following benefits:
“Decrease in baby blues and postpartum depression.
Increase and enrich breastmilk.
Increase in energy.
Decrease in lochia, postpartum bleeding.
Decrease iron deficiency.
Decrease insomnia or sleep disorders.
Decreases postpartum “night sweats”.
The placenta’s hormonal make-up is completely unique to the mother. No prescription, vitamin or herbal supplement can do what one placenta pill can. How amazing is that?
The theory is you are replacing the hormones you lost during the birthing process. Each woman’s placenta is unique to her hormonal make-up. Also the first born male placenta is the most enriched.”
(From the tutorial I read at: http://www.cafemom.com/journals/read/1577334/Placenta_Encapsulation_Instructions_w_Pictures)
So… the pictures are gross, because organs are gross. But obviously, we thought it was a good idea, so maybe others will find this helpful as well.
Question: Why did we do it ourselves?
Answer: Because we’re cheap. End of story. We could have spent $150 to have it done, but the supplies cost about $35 and there’s all we need to do both of ours. It was an experiment… and I think it worked out. No gagging. No big mess. Kinda gross, but doable.
Question: What method did you use?
Answer: I used the raw method. You can steam it first, but who wants an extra step… especially one that might smell… at all.
Question: Why aren’t you using universal safety measures?
Answer: Because I was doing it for my very healthy sister and because I didn’t think of it until later. If you do this for somebody besides yourself, you should wear gloves. 🙂 And I did wash and bleach everything afterwards. The dehydrator trays in particular were much easier to wash by just leaving them all day in a water/bleach filled bathtub.
We bought:
00 capsules – used about 150 of them (filled 130 for Melissa and dropped a few and got a few dirty) – They’re not too big but I think you can get them smaller. We bought 500 for $7.98
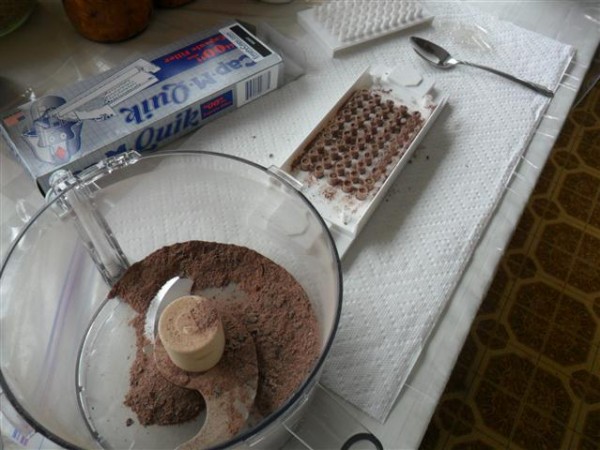
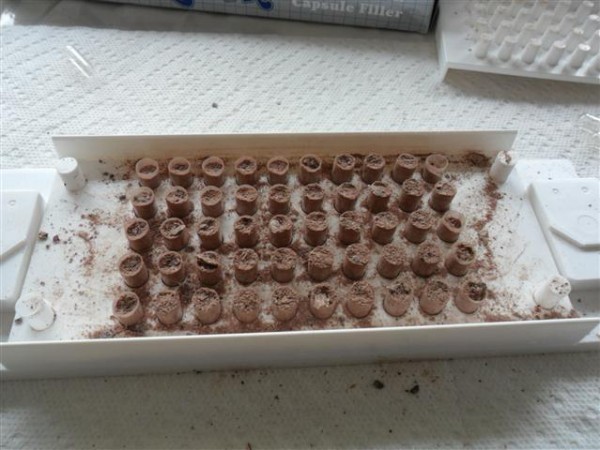
A Capsule Filler Machine – It cost $24.99 and I don’t know how we would have done it without it. It holds the capsules for you and guides the powder into the capsules.
We also used:
– A colander or strainer of some sort
– A cutting board
– A sharp knife
– A dehydrator
– A food processor (though next time, I’d like to try a coffee grinder)
The process:
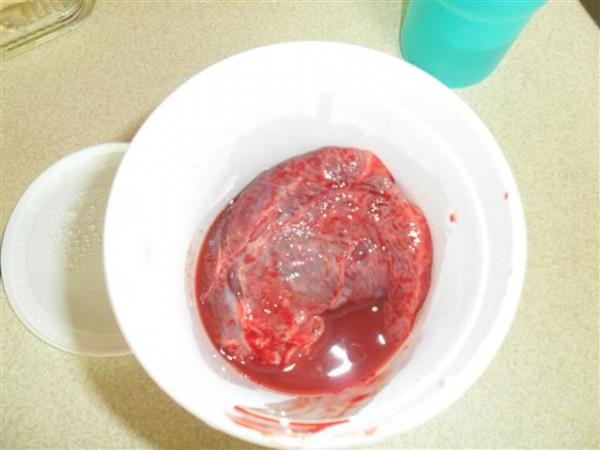
Uncap and look at the surprisingly small organ that is the most sophisticated life support system known to man. Try to ignore the blood.
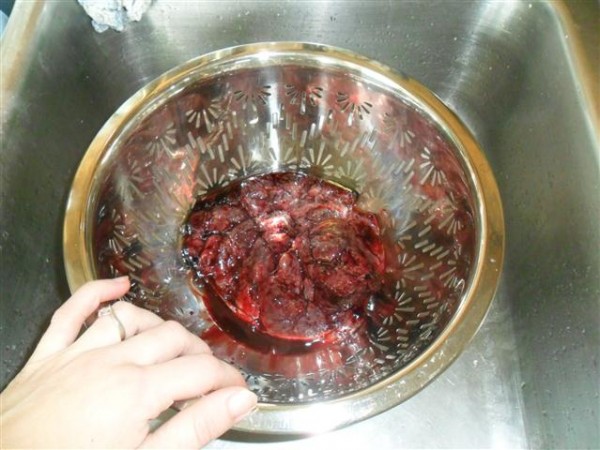
See how one side of the placenta is rough and bumpy - that's the side that was attached to the uterus. Put into colander.
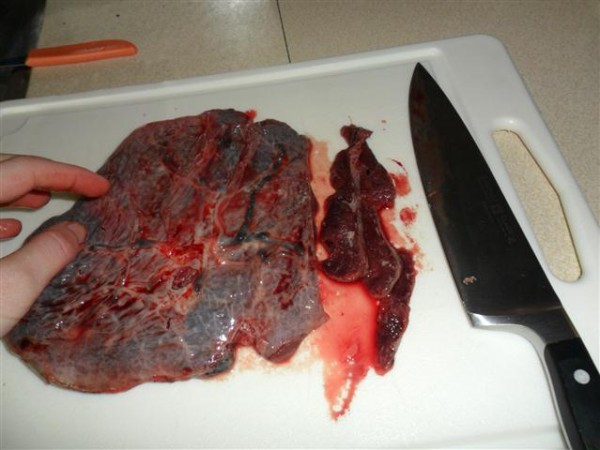
After rinsing well, removing any obvious blood clots, put on the large cutting board. Cut into strips of equal thickness. (I cut the whole thing in half and then cut each half into little strips)
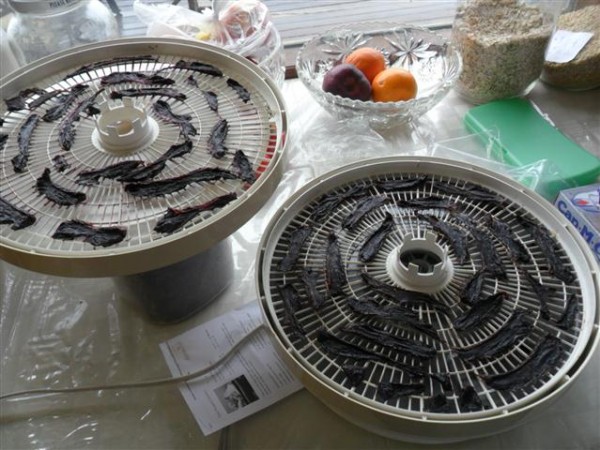
Turn on the dehydrator at a lowish temperature... I used 110 degrees Fahrenheit. I left it there overnight and it was very dry after 24 hours.
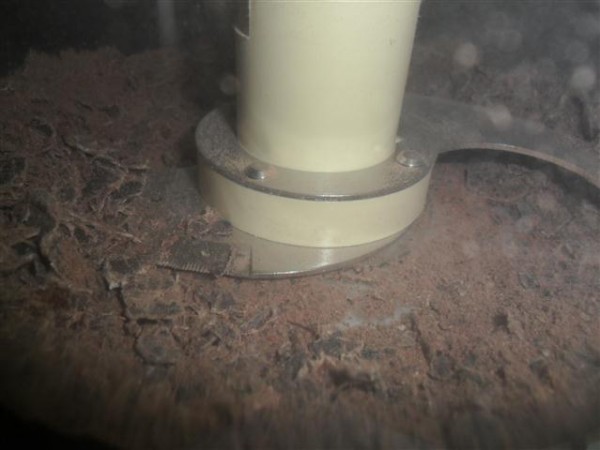
It took a long time to turn into powder. This is after a minute of running full speed. (I did it even longer afterwards) I put a towel over the top, because it was too powder/cloudy and I began to smell it.
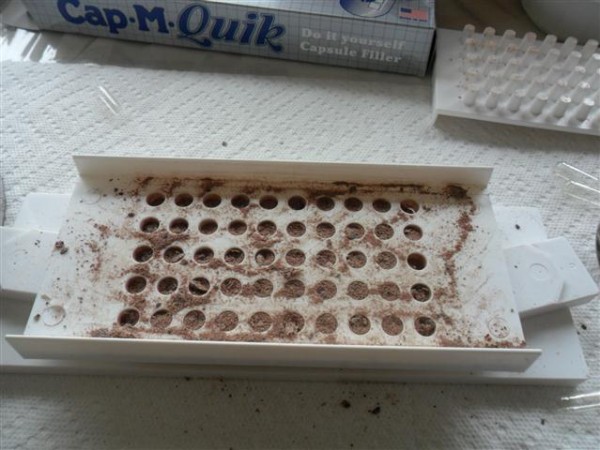
Put in the long parts of the capsules with the tray at the "tall height." Fill with powder. Tamp down with tamper if you want... but don't push hard, because you don't want to ruin the capsules.
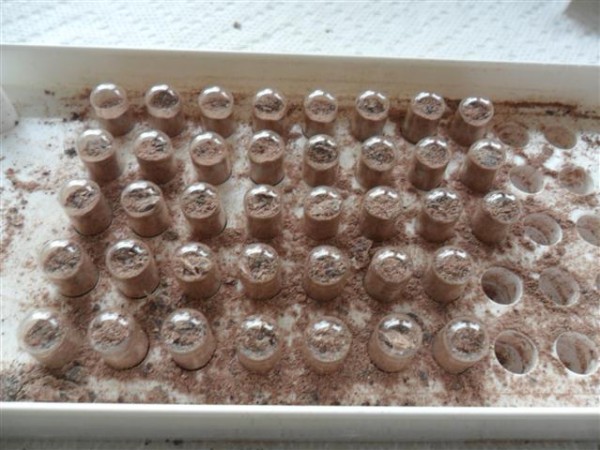
Put caps on. Push down hard enough that the lids "pop" over the little bump. You don't want these to pop open.


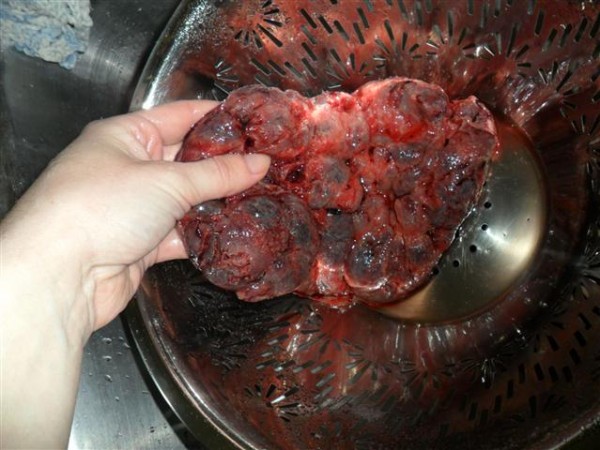
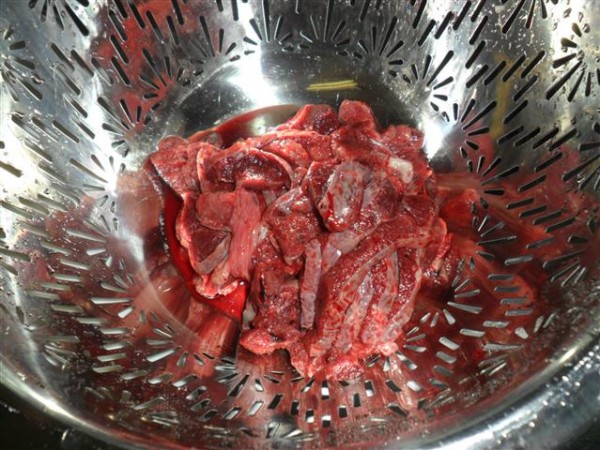
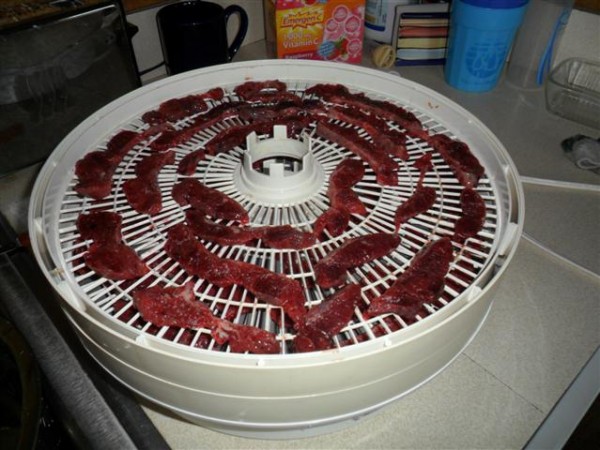
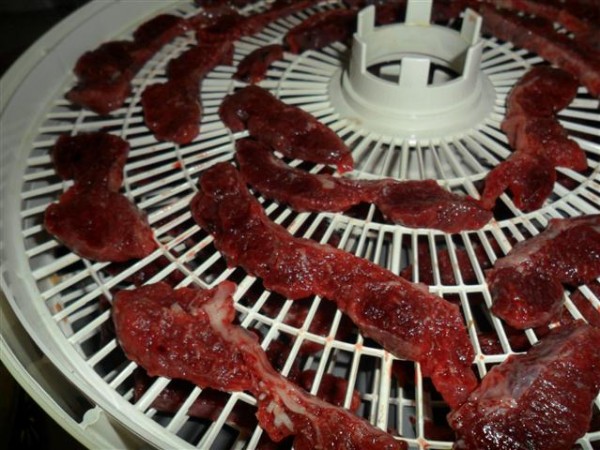
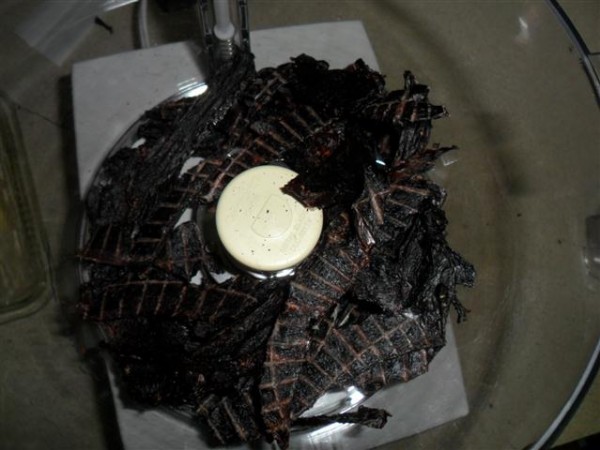
Umm. All I can say is I’m glad you don’t EAT it. Really not so horrid of a thought that you take it in DRY pill form. Hmmm. Gonna share with my homeschooley, grow, pack and store your own food kinda friends. 🙂
Uhhhhhhhhhhhhhhh. I was fine till the placenta jerky part. It just looks like bugs. 🙂 nice sister bonding project! Lol! I love your crazy ideas Rae. They aren’t crazy, they’re good and healthy and natural, but pretty wild still. 🙂
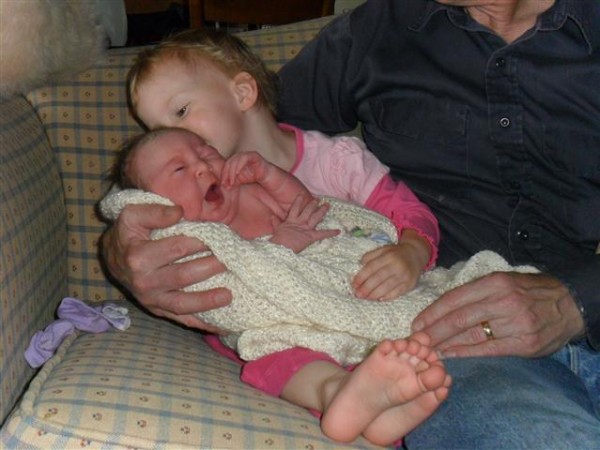
Wow, Rachel. That is really hardcore. Thanks for the fascinating tutorial. I love how you and your sister look so much like each other. My little sister and I are the same way. Congratulations to all of you on a beautiful new addition to the family!
Wow, didn’t even know I could do it myself. Thanks. That being said, this is a bit hardcore. I was considering getting it done myself, but don’t know if I could do the $150 – 200 fee. This atleast gives me another option.
I love that my Cafemom tutorial has made it’s rounds on other blogs! I never knew it would go viral.
:O)
Thanks for the tutorial! I’m doing this for a friend of mine (she’s due today!) and needed a brush-up! Most “how tos” online used a steamed placenta! Who the heck wants the extra step and STINK!? Not me! Thanks again!
What kind of dehydrator did you use? We want to do this next time around, so I figured I’d start gathering the supplies now while I’m thinking about it. Thanks! 🙂
Hi Sarah! We’ve used two different kinds… I have a couple of them that I picked up at garage sales. The only important thing is that you can set the temperature. I can recommend the Nesco American Harvest types, though I have not tried very many types.
im doing this next time! but can you just take your placenta and bring it home from the hospital?
Sol, yes you can. Some hospitals are harder than others. My sister and I hired midwives and had our babies at home, so it was very easy for us. 🙂
In my brain, steaming it would lessen the effects and that’s why I wouldn’t steam the placenta. Why don’t you steam it? Just curious if we’re thinking along the same lines. Thank you for an awesome, informative tutorial!
Just encapsulated another placenta (Melissa’s again – congratulations!) and it went smoothly and easily. I used a coffee grinder this time and preferred it to the food processor for how long it took to grind up and how much less mess it made. Amanda, I don’t think the differences between steamed and not steamed are well understood…
I’ll have babe in the hospital. How do I keep it fresh until I get home? Most meats you have to hang and bleed the blood out before packaging. Do you do this? What if I can’t get to encapsulating it for three days. Will it be good if I put it in the fridge till then? I won’t have help.
Betsy – See if you can get somebody to take it home to the fridge or freezer for you! I rinse it before cutting it up… hanging it should be fine, but I don’t think you want it “aged” like meat is, but I am not really sure. Three days is fine, just put it in the fridge. Also ask ahead of time about the placenta at the hospital if you get the chance in case they have to figure out what form to use so they can give it to you. 🙂
Hi! I just encapsulated my first placenta and just used the dehydrator that my clients had at their house. I think it was very old and doesn’t work very well. The placenta took over 24 hours to dry :-/ is it still safe to use??
Elyse, I don’t know. I bet it is, but I am no expert, just a do-it-yourselfer!